Exploring Siderolabs Omni

As a Kubernetes homelab enthusiast, I've experimented with various Kubernetes-first Linux distros. At the time of writing, Siderolabs Talos is the leader in the space - with good reason. Talos is minimal, secure, and completely declaratively managed. Creating and supporting Talos clusters is ultra-simple. But enough about Talos - what's Omni?
Omni
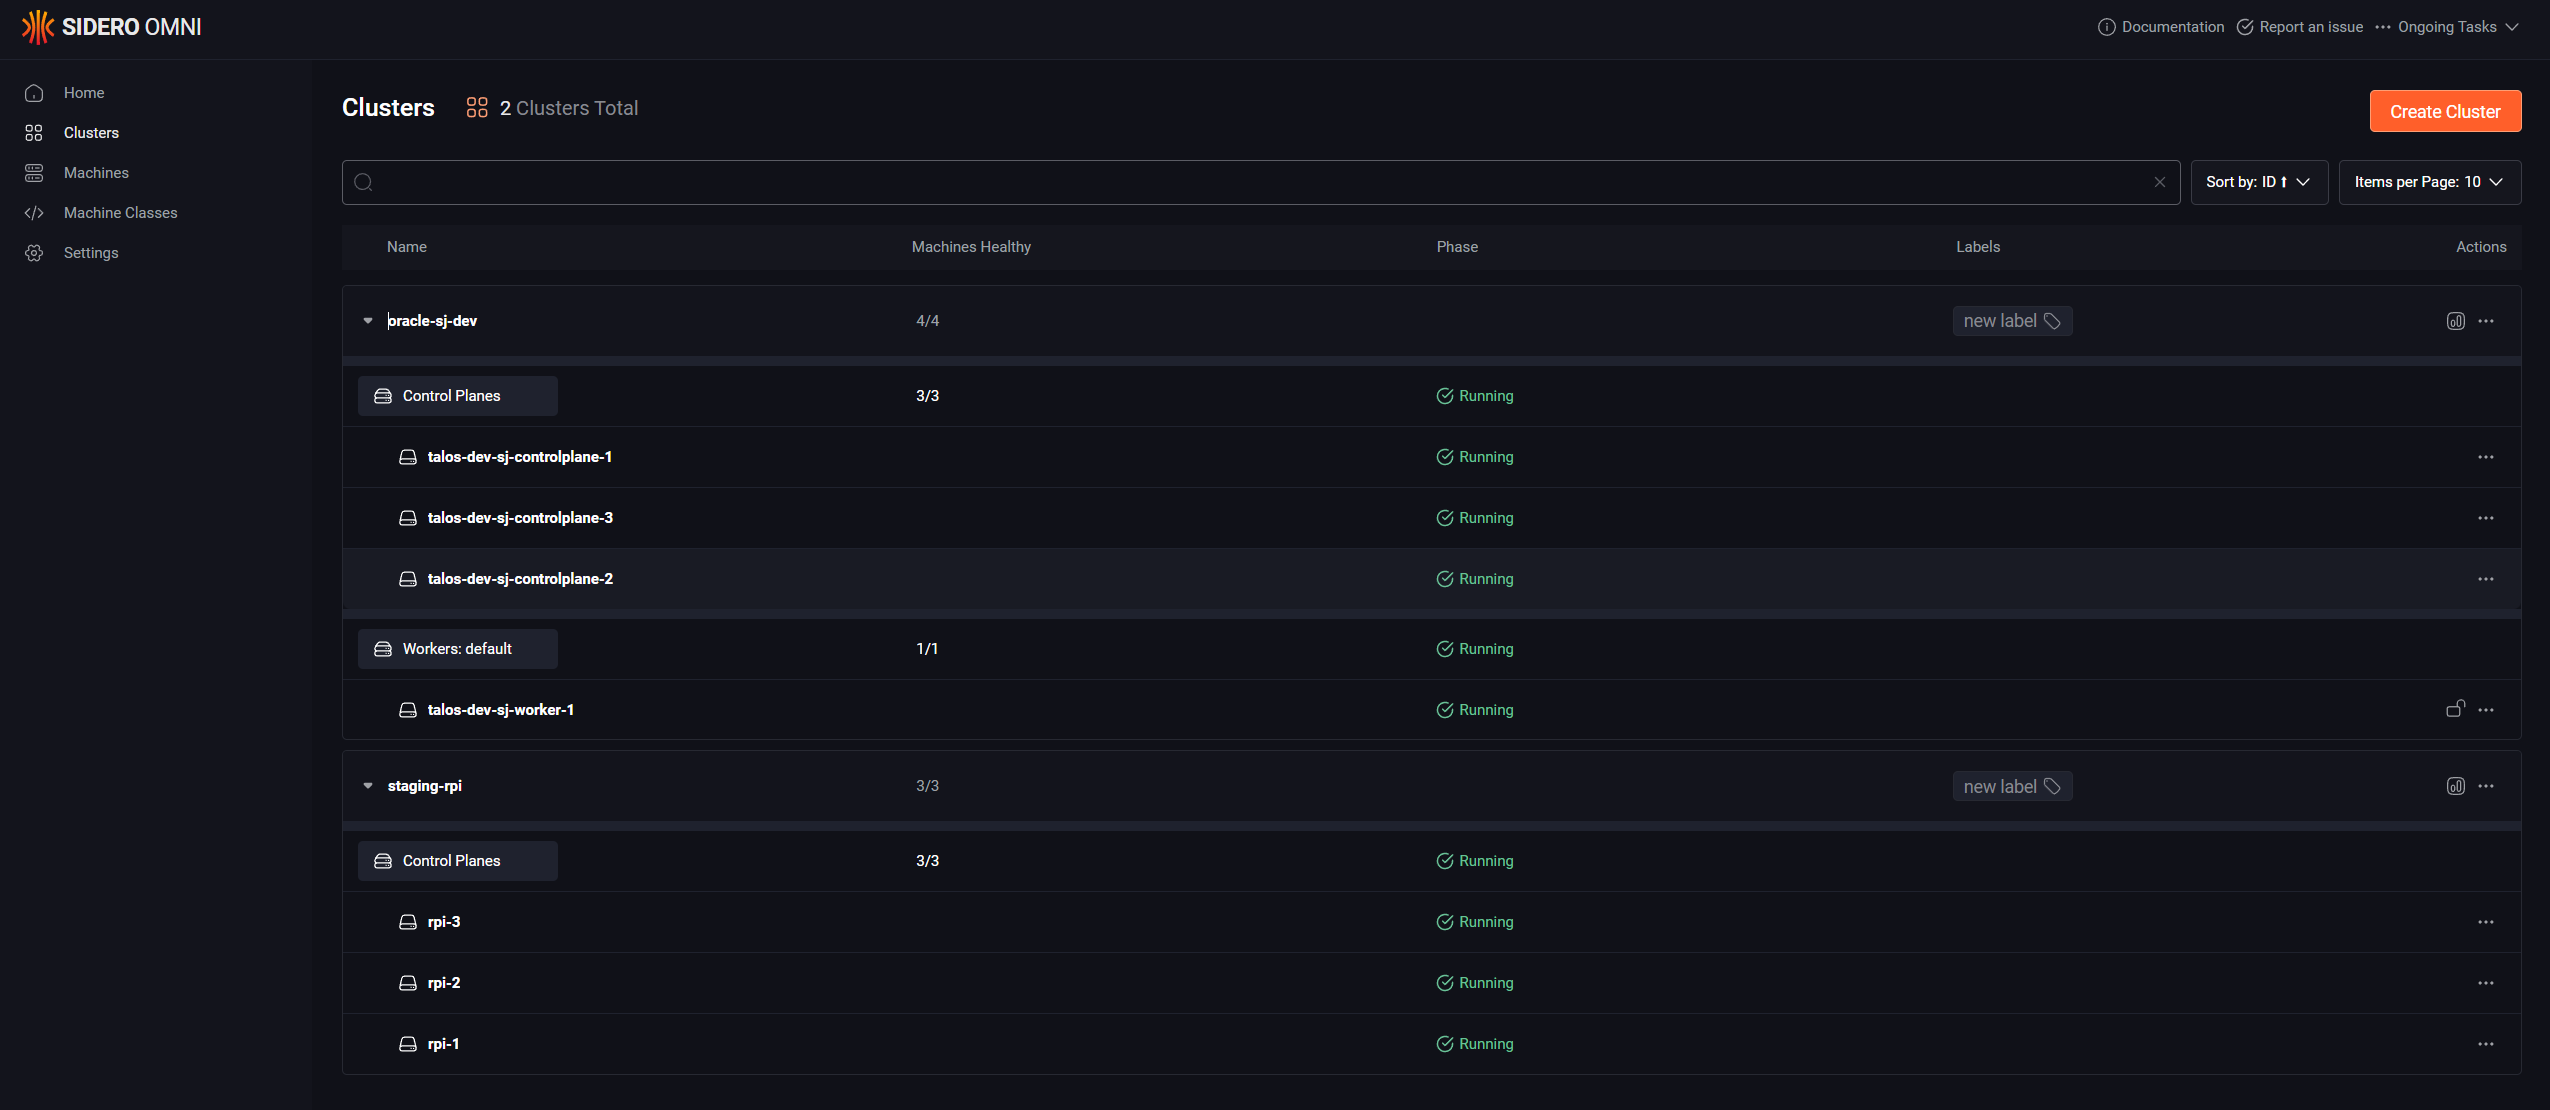
Omni is Siderolab's platform for creation and management of Talos clusters. Thankfully, for non-commercial use no license is needed. The rest of this blog will detail my experience using Omni to manage my homelab environment, consisting of a cluster in my home as well as a cluster on Oracle Cloud's free tier.
Omni Deployment
Deploying Omni is relatively simple - you'll just need some machine with a container runtime available. However, there is a bit of pre-work you'll need to do, including generating SSL certificates and setting up an authentication provider. This guide is pretty good, though it may be outdated by now. The current documentation is good as well, though this was not available at the time I deployed my own instance.
For my own setup, I deployed Omni on a LXC Ubuntu container on my Proxmox environment. Note that in order to use tun in a LXC container, you'll need to modify it's configuration (/etc/pve/lxc/
lxc.apparmor.profile: unconfined
lxc.cap.drop:
Make sure to stop the container, apply the configuration changes on the Proxmox host, and restart the container.
For my SSL certificates, I used certbot-dns-cloudflare:
pip3 install certbot-dns-cloudflare
sudo mkdir -p /etc/letsencrypt

sudo tee /etc/letsencrypt/dnscloudflare.ini > /dev/null <<EOT
# Cloudflare API token used by Certbot
dns_cloudflare_api_token = AN_API_TOKEN_HERE
EOT

sudo chmod 0600 /etc/letsencrypt/dnscloudflare.ini
Then, generate the certs:
sudo certbot certonly -d omni.<your-domain> --dns-cloudflare --dns-cloudflare-credentials /etc/letsencrypt/dnscloudflare.ini --non-interactive --agree-tos --email <your-email>This doesn't set up recurring renewals of the certs - you'll have to do that manually when they expire every 90 days. One day I'll stop being lazy and make it automatic, but today is not that day.
For your authentication provider, you have a few choices - I went with Auth0 because that's what was in the video guide at the time. Rather than repeat what was said there, I encourage you to view that guide, starting at around the 10 minute mark.
You can choose to expose your Omni instance to the internet or not - out of an abundance of caution, I choose not to but it is completely guarded by the authentication provider you set up.
Omni Usage
With the not-so-hard part out of the way, we can now use Omni! For my on-prem Raspberry Pi cluster, I just downloaded the relevant installation media from the UI and it booted right up. From there, you can allocate machines to a new cluster. For my Oracle Cloud cluster, it's slightly more complicated as you new to create a new boot image from the installation media (and, if you're not exposing Omni like me, create a VPN connection from Oracle to your home environment). I'll be posting a blog detailing more of Oracle environment in the near future if you're interested in this.
Member discussion